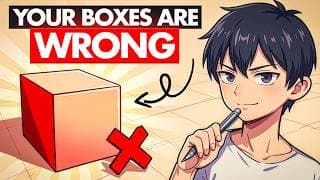
Creating Orthographic Projections
Free to teach as-is — the teacher guide, student handout, and slides are included.
Free — we'll email you an access link. Google Docs format.
Objective
I can create orthographic projections of three-dimensional objects.
Part 1 of 4
Warm-up video
Brian Bernard · 5:41
We don't generate video — this one is by Brian Bernard on YouTube. The practice questions and exit ticket below were drafted by AI for this objective, and every question is editable in the teacher guide.
Part 2 of 4
Key concepts
3 concepts
- 1
The first step in orthographic projection is to draw bounding boxes to ensure all views fit on the page.
- 2
When all surfaces are normal (horizontal and vertical), draw the visible faces first, then the hidden faces.
- 3
Hidden surfaces are indicated by hidden lines, which should meet at a dash where horizontal and vertical lines connect.
Part 3 of 4
Practice
7 questions
What is the first step recommended when creating orthographic projections from an isometric view?
Why is it important to draw bounding boxes lightly (e.g., in orange) at the beginning of an orthographic projection?
Part 4 of 4
Exit ticket
Quick comprehension check
“Describe the first step you should take when creating an orthographic projection from an isometric view, and explain why this step is important.”
Sample answer included in the free materials
Get the materials
Teacher guide, student handout, and slides — free, in Google Docs format
Teacher Guide
Complete lesson plan with answer keys and alternate activities
Student Handout
Printable worksheet
Slides
Ready to present
We'll ask for your email to send your access link — nothing else.
Teaching a group at a different level?
Where are your students right now? We'll rebuild this lesson to match — including the teacher guide, student handout, and slides, saved to your Google Drive.
Adapt This Lesson